Thinking about podcasting on YouTube? Podcasting is one of the most cost-effective ways to share content with a global audience. Podcasts are a great way to build your brand and create brand awareness for your business.
Your brand impact compounds on YouTube. According to Oberlo, YouTube is accessible to around 2.3 billion active users every month. With those statistics, it makes perfect sense to consider podcasting on YouTube to increase the visibility of your show.
YouTube is the second-largest social media platform and one of the top audio streaming apps. By including YouTube in your podcast strategy, you can achieve amazing results with some simple steps and an awareness of YouTube’s best practices.
This step-by-step guide for podcasting on YouTube will cover the important aspects of using it for your podcasting, including how to turn your podcast audio clips into suitable files for YouTube.

Best Practices and Steps For Podcasting On YouTube
There are three main ways to approach podcasting on YouTube.
- You can post full audio episodes from your show on your YouTube channel
- You can create a video podcast version that your audience can watch on YouTube.
- Or you can share snippets, teasers, or incomplete episodes that prompt podcast listeners to check out the full version through your podcast host, elsewhere on YouTube, or externally on your website.
Choosing an approach from these options will guide your content creation strategy to help you use YouTube effectively: audio podcasting, video podcasting, or YouTube promotion.
Here are some best practices and instructions for how to get your YouTube podcast started:
Audio Podcasting on YouTube
If you choose audio YouTube podcasts, it’s important to remember that YouTube is a visual platform. That means that it accepts content in video formats and you will have to convert your audio episode into video. To do that, partner your audio with your brand visuals to make your podcast exciting and accessible to YouTube’s visual requirement.
Not sure how to do this?
With Wavve, you can turn your podcast into engaging animated videos in minutes. Wavve enables you to leverage your audio content by creating interesting and engaging videos that can help increase your engagement. Now you can easily convert any podcast episode into a branded video or animation.
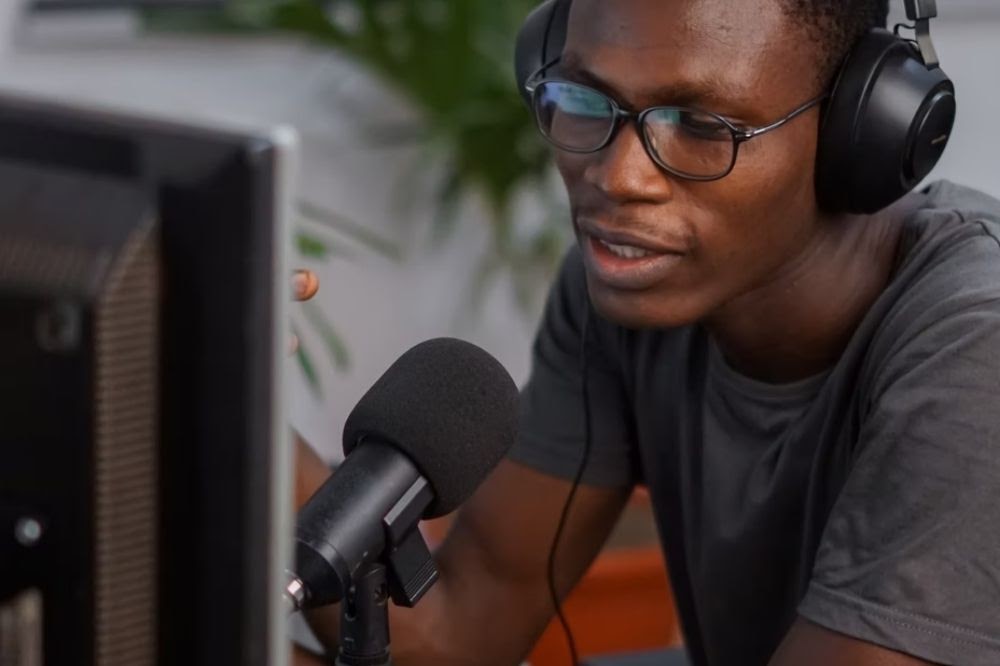
Simply select the episode you’d like to use, add images, logos, captions, or animations, then generate it. You can also customize the size of each clip to suit the exact specs and dimensions required for YouTube. These are 1080p (1920 x 1080), in a landscape or horizontal 16:9 ratio. YouTube Shorts works best vertical if under 0:30 seconds. Standard YouTube works best horizontal.
How To Turn Audio Into Video For YouTube
We’ve put together a step-by-step guide to help you turn your audio into a Wavve video for YouTube.
- Create a free account on Wavve.co.
- Once you’ve created your account, click on ‘Create a New Video’.
- You will first want to load your audio. There are several choices to make it easy.
- While that is loading, create your visual design. You can upload images, add progress bars, or add a waveform animation. Save your design to reuse later.
- Finally, use the entire episode or shave it down to a single clip.
- When you are done, click ‘Generate Video.’
- Once it’s done, Wavve will email you the link to download the mp4 video and upload it to YouTube. (Or, if you are more advanced, you can use Wavve’s Zapier integration to automatically create a wavve and upload it to YouTube every time a new podcast episode comes out.)
Live Video Podcasting on YouTube
Creating a live video version of your podcast typically means recording yourself recording the audio with a video camera, webcam, or phone. It’s certainly more work than doing an audio podcast alone. However, it can help you capitalize on YouTube’s visual audience even more while still focusing on the audio quality.
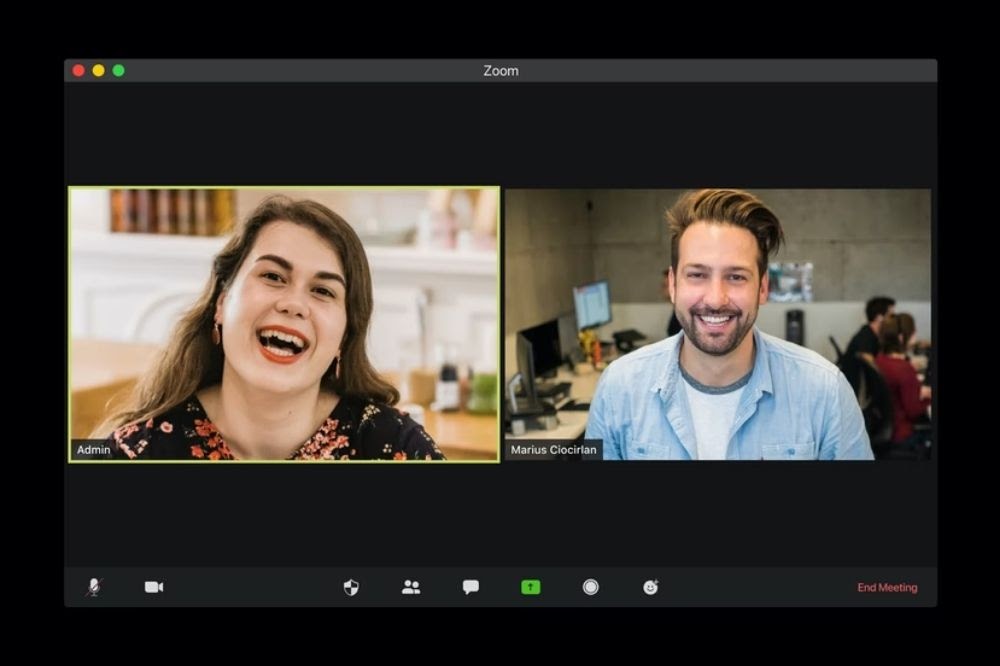
Zoom has become an increasingly popular option for recording video podcasts, along with many others similar tools that cater to podcasters, like Riverside.fm, Squadcast, and Ringr. Zoom was originally created for video conferencing but includes a variety of features that make it perfect for podcasting too. Whether you’re going solo or having a group of guests, these tools makes it effortless to record your videos and audio at the same time.
Video conferencing platforms are one way to approach live video podcasts. They’re a great way for you to test out video podcasting as they don’t require any expensive equipment.
For more advanced video podcasters, you can set up external cameras that record your session as it happens. Not only will this give you various video angles, but it will also help you capture your entire performance. We suggest positioning your external camera to include you and your guest as well as the general environment where you are recording.
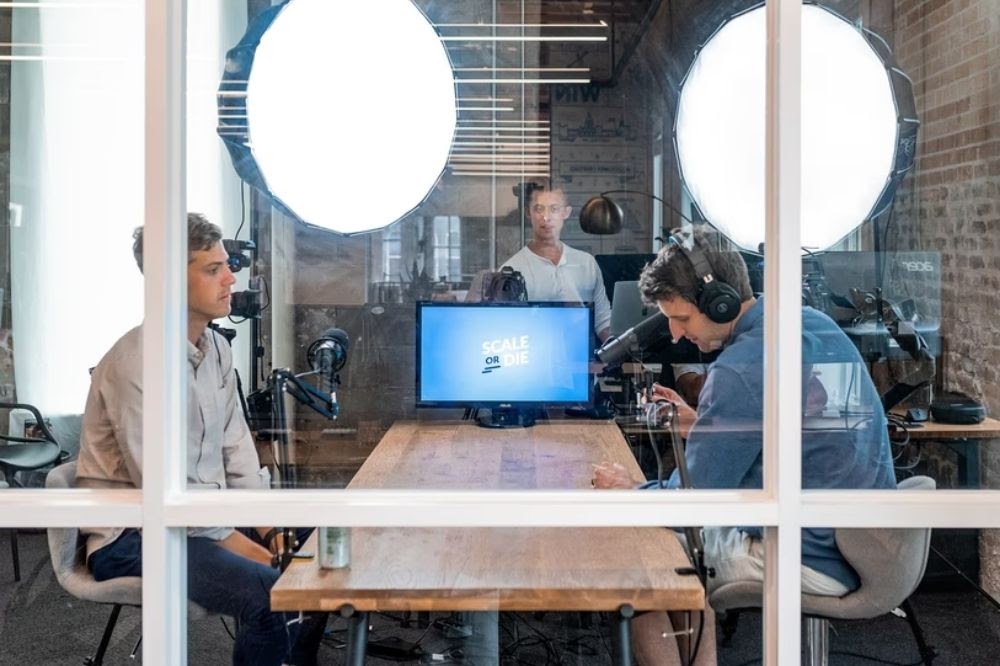
Some smartphones can also help you avoid fancy equipment and still get high-quality recordings. However, you will need video editing software and expertise to combine the content from the different cameras, re-sync any audio that drifts off video, and other edits.
Also, keep in mind that adding live video puts more pressure on each podcast session because do overs require both audio and video.
Uploading Your Content
Once you’ve created your content, audio or video, you need to upload and promote your episodes. The easiest way to do this is to upload your entire episode to YouTube. This will require no additional planning or editing.
However, with this option, users may watch the entire episode on YouTube, without finding you on Spotify or Apple. This could result in fewer subscribers to your RSS feed. It just depends on which channel you want to grow.
Another option is to upload segments of your podcast to YouTube and save the full episodes for your podcast hosting site. That way, YouTube becomes a promotional tool to drive traffic.
How To Upload Your Content To YouTube
- Log in to your YouTube account.
- Click on the video icon on the top right of the window (next to your user icon, messages, apps, and notifications).
- Select ‘Upload Video.’
- Click ‘select files to upload’ to find the existing video on your computer. You can also drag and drop it onto the page.
- Now, you can choose the privacy settings on your video

Once you’ve completed these steps, your video will technically be on YouTube. However, it won’t have the necessary tags or descriptions, which are crucial for viewer engagement.
Bear in mind, if you don’t rename your video, it will automatically use the same name as the existing file you uploaded. To avoid this, and to properly complete the uploading process, there are a few more steps to remember:
- Add an SEO-friendly title so your video is easily discoverable via search engines. In your title, use keywords relating to the content.
- Add a description of your video so people know exactly what your content is about before viewing it.
- Add tags. Tags act as tools to help people discover your video.
- Upload a compelling cover image to attract more clicks.
Going The Promotional Route
Another way to share your podcast content on YouTube is to create micro-content or teasers. YouTube Shorts is YouTube’s way of testing this out itself.
These shorter clips entice your audience and drive traffic to your own branded sites or the full episodes. This method is ideal if you are working across multiple social media platforms and not just podcasting solely on YouTube.
With Wavve, you can create these short clips and teaser videos, then leverage them to promote your full podcast. Wavve Link allows you to seamlessly sync all your content to your podcast feed. With this link, your listeners can view your entire episode list and listen to each episode from one link. You will want to include it in the Youtube video description.
Final Thoughts
Podcasting on YouTube is an incredibly powerful way to create awareness and revenue for your show. Today, YouTube is one of the most popular spaces to listen to audio and video content.
For podcasters, YouTube has certain requirements and constraints to keep in mind. One of them is that you need to turn your audio into engaging visual content as the platform requires files in a video format.
For YouTube Shorts, keeping it under 0:30 seconds is ideal.
Ultimately, whether you decide to host your full audio-first episodes, a video version, promo clips, or a mix of all of these, always remember to include a call to action at the end and in the description. This will direct traffic to your other episodes, grow your audience, and promote your website.
Need help turning your audio into enticing video content for YouTube? Use Wavve to leverage your audio content and grow your audience at the same time. Go to wavve.co to sign up for free today.
I’m the CEO of Wavve. I love encouraging creators and entrepreneurs to share their stories and lead with purpose.

