With 3.5 billion social media users, social media marketing is a key step that you just can’t skip in this day and age. And that’s true even when it comes to promoting and marketing podcasts. Of course, social media marketing can get a little tricky with podcasts. Why? Because podcast clips are pure audio content, where social media is primarily visual.
So how can you share your podcast clips as social media posts? It’s not as hard as you might think. Here’s a little secret: you just need the right tool.
How to Share Podcast Clips as Social Media Posts
In order to effectively share podcasts clips as social media posts, you’ll have to turn your audio content into visual content. How do you do that? Well, if you want to do it the easy way, you use Wavve!
Wavve is a tool that turns your podcast’s audio into engaging animated videos ideal for sharing on social media. It’s also easy to optimize your video for each social media platform with Wavve’s pre-formatted design sizes.
When you use Wavve, it’s easy to leverage podcast clips from each of your podcast episodes to create branded, animated videos for social media.
If you want to share your podcast clips as social media posts using Wavve, just follow this walkthrough:
1. Create a new account
Or log in to an existing one.
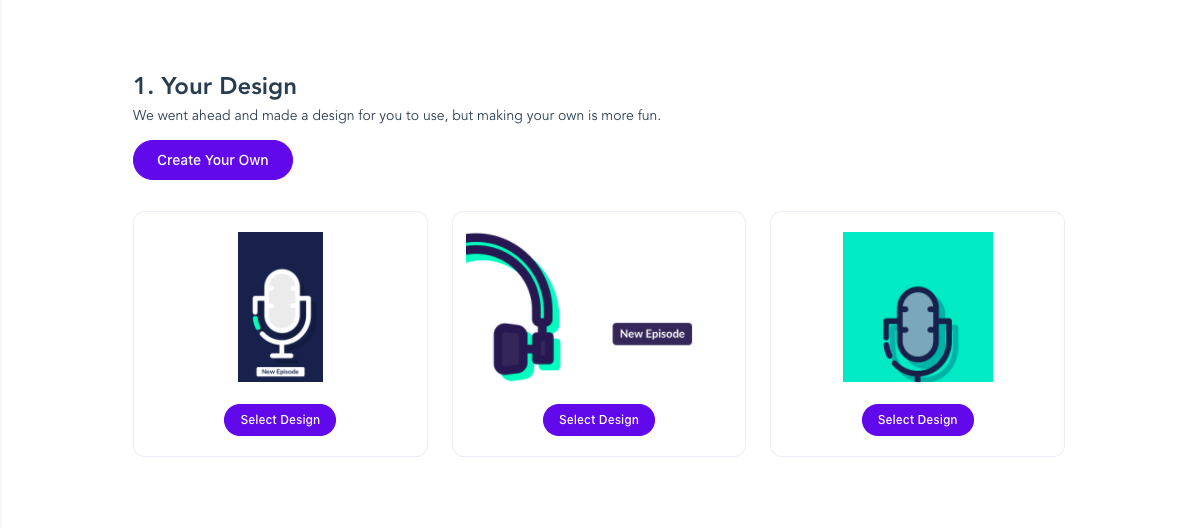
2. Choose a design
You can create your own custom design or choose from one of our 5 designer-made templates that were built to stand out on social media and drive engagement. When you select your design, you’ll also choose your design dimensions depending on which social media platform you’ll be uploading to (but don’t worry, you’ll have the option to change this later).

3. Customize elements in the design editor
Once you’ve chosen your visual design, you can play around with all of the different elements that Wavve offers. You can add a background image, choose from different waveform animations, add a progress bar, etc. Spend some time messing around in here. If you want a detailed look at all of the design editor’s capabilities, check out this walkthrough video.
4. Upload your audio
Now, it’s time to add the audio. Just upload the audio clip that you want to turn into an animated video. Once you’ve uploaded, you’ll have the options to preview and trim your podcast clip. For a visual explanation of the trimming process, check out this video.
5. Add captions
This is the final step to editing your podcast video, but one of the most important. After all, 80% of social media videos are watched on mute. That’s why, without captions, your video could miss a huge chunk of your potential audience.
With Wavve, adding captions is easy. Wavve can automatically generate a transcription of your audio and add captions to your video. You can even fully customize the styling of your captions to match your brand by changing the font, color, size, layout, and more. For all the details on adding captions, check out this walkthrough.
6. Download and share your podcast clips
You’re all done! Now you can download your new animated podcast video and share it on your chosen social media platform(s).
Want to share podcast clips as social media posts?
If you’re brand-new to Wavve, you can create your first video today for free!


