Our Most Requested Feature Has Arrived! Now You Can Easily Add Captions to Your Wavve Videos.
Here at Wavve, we are all about helping you promote audio content on social media. We primarily do this by making it super easy to turn audio clips into eye-catching videos formatted for Facebook, Instagram, LinkedIn, Twitter, & more.
Social media is a great place to post audio content (as video) so your followers can get a taste of what you offer. Unfortunately, almost 8/10 users on social media watch videos with the audio muted. Most apps actually auto-play videos on mute until the viewer clicks the video or adjusts audio settings. This isn’t great for us audio creators that want people listening to our content.
That’s exactly why we added the ability to include open captions on any Wavve video you create!
Thanks to our latest integration with Zubtitle, Wavve now automatically “listens” to your audio clip and transcribes it. Then, if you so chose, it will seamlessly add open captions to your final video. Because speech-to-text technology isn’t perfect, there is also an easy interface for previewing and editing text. You can even change the timing of the captions.
Ready to learn how the whole process works? Let’s go!
1. Prepare Your Design Accordingly
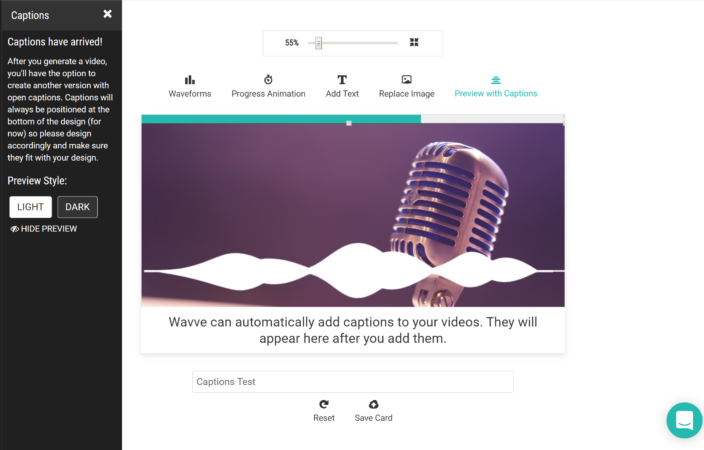
When creating or editing a design from the My Designs page, use the “Preview with Captions” feature to see where the captions will be added on your design (you will choose your color & style later).
Important: At this time, captions will always be displayed in the lower portion of your video and expand the full width. We plan on launching more customization options in the near future.
Once your design is ready, click Save.
2. Generate Your Wavve Video (As Usual)
Now you can use your saved Design on the Create Page to turn an audio clip into a video. The video file will include your static image, the waveform, and your audio.
Choose your design, upload your audio file, and trim it down as needed.
3. Add Captions To Your Generated Video
There are two places you can kick off the caption generating process:
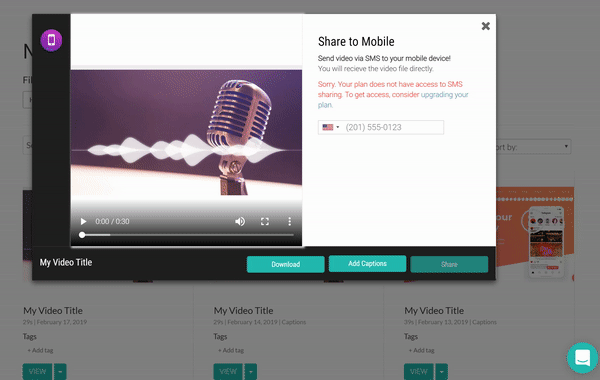
- When your final video pops up ready for download, you can select “Add Captions,” or…
- On the “My Videos” page, click the down arrow on your video, and you’ll see an option to add captions there.
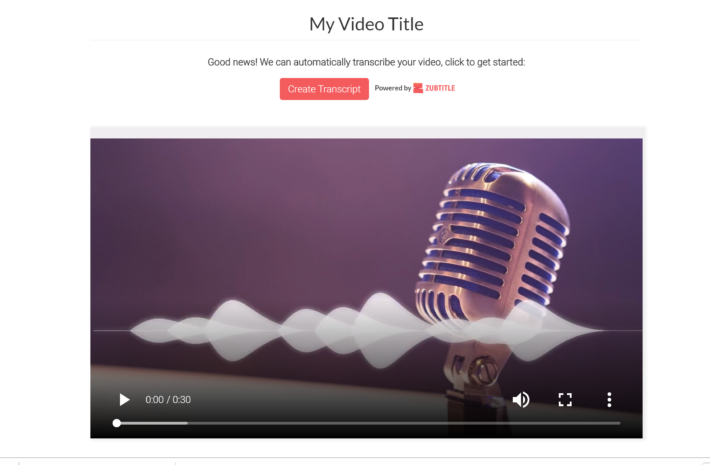
4. Click “Create Transcription.”
5. Edit The Transcript & Adjust Caption Timing
The transcription notepad feature displays all of the transcribed text and provides an easy way to make changes while you preview the video. The blue vertical tick marks show where each line of caption starts and stops. They can easily be adjusted by sliding them left or right.
Any changes you make will be displayed in real time in the video preview pane. At any point, you can save your progress or generate a new version of your video. And if you make a mistake, don’t worry – you can always go back and make changes.
6. Save & Create Your New Video
Use the “Save” & “Create Video” buttons at the top of the screen to create a new version of your video with Captions.
Ready To Get Started?
If you already have a Wavve account, click here to login and try out this new feature. If you are new to Wavve, you can sign up for a free account here.
Already creating content with Wavve? Be sure and use hashtag #wavve. Also, tag us on social media (Instagram: @getwavve & Facebook/Twitter: @wavve) so we can reshare the videos you create!

3 Comments
Mark
This is a really great feature for the reasons you mention. Thanks for adding it!
One question: Can we upload a caption file from a service like REV?
Baird Hall
Thanks Mark! Not at this time. You will need to use our transcription service (provided by our Zubtitle integration) to generate the transcript.